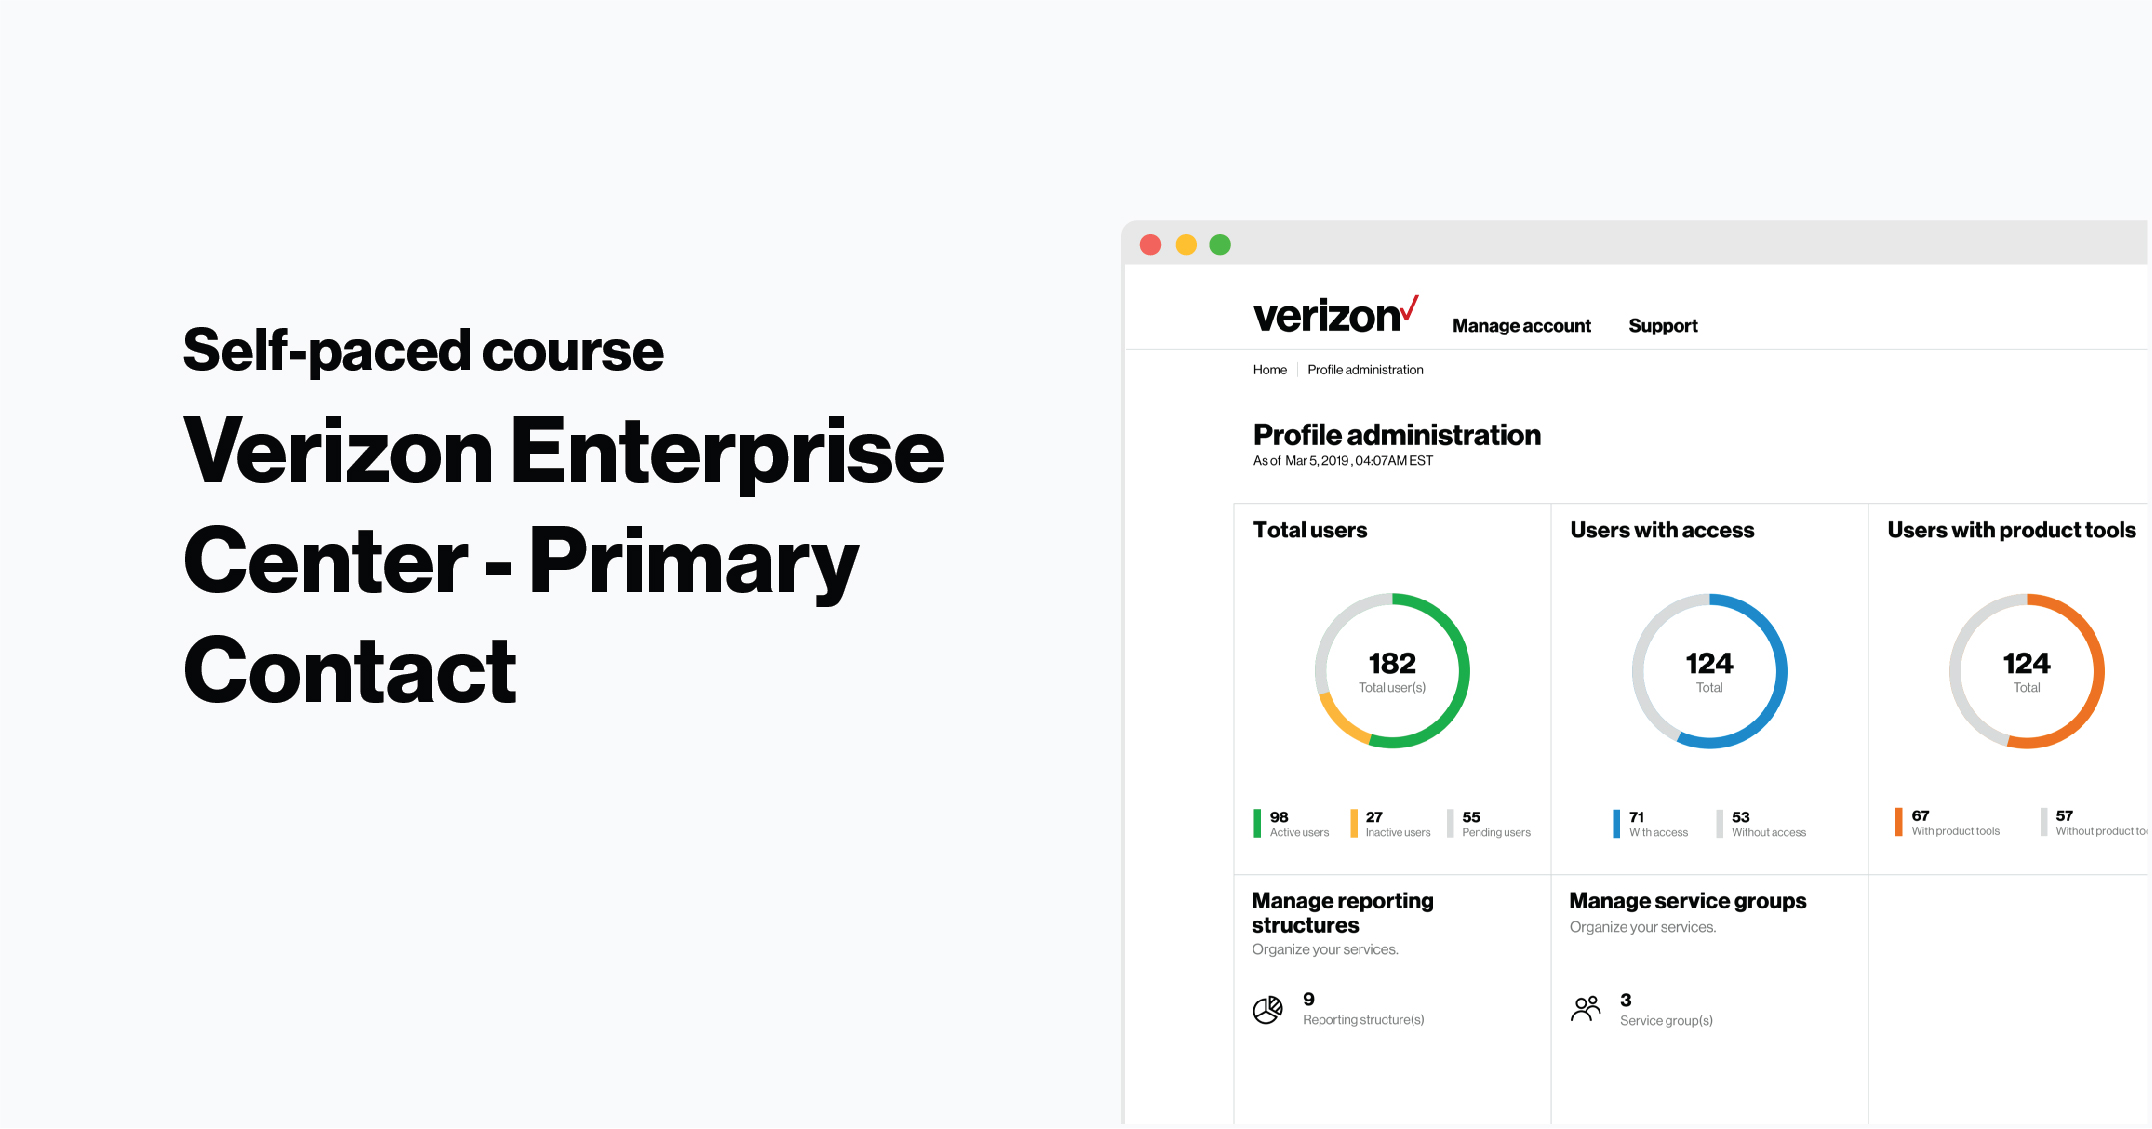
Creating service groups allows you to organize service IDs into easier to consume containers. You can conveniently group your service IDs based on location, function or importance to quickly view or grant access without having to sift through thousands of individual service IDs.
What types of groups should I make?
While every company is unique, many primary contacts recommend using service groups to:
- Group all of your business’s critical functions so you can easily ensure they’re operating properly
- Group all of your service IDs in a specific region - i.e. all of your sites in the Northeast
- Group all of your service IDs for a specific function - i.e. all of your security services
Create a service group
Go to service groups
1. Log into Verizon Enterprise Center
2. Click Manager users to get to the Profile administration page.
3. Under Manage Service Groups, click View All.
Enter your information
4. Select a Customer Legal Entity from the drop-down list if you have more than one
5. Select Critical Business Process or Business Site
6. Enter the rest of your information and click Continue
Select your service IDs
7. Choose which service IDs you want to add to the service group. Add them by:
- Selecting service IDs from the list
- Entering service IDs manually
- Uploading a spreadsheet of service IDs in bulk
8. Click > to add service IDs to the inventory
8. Once you’ve added all of the service IDs you’d like, click Continue
9. Click Ok to create the service group
Update or delete a service group
You can assign or unassign users to any of the service groups you’ve created. Your users can view the service groups they have access to by selecting Services > View inventory.
Go to service groups
1. Log in to Verizon Enterprise Center
2. Select Service > Manage service groups
Select a service group
3. Click the circle to the left of the service group you want to assign or unassign
4. Click Assign Users or Unassign Users from the Actions drop-down list
5. Select the users you’d like to update and confirm your changes


