Add a Verizon Private IP (MPLS) location
1. Log into the Verizon Enterprise Center with your user ID and password.
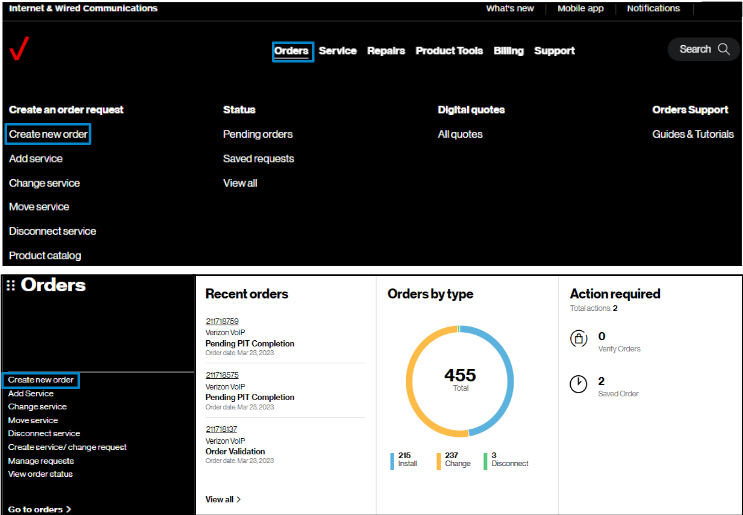
2. Hover on Orders and click on Create new order under Create an order request.. On the Verizon Enterprise Center home page, you can also click on Create new order in the Orders pod for the same option to create an order.
3. On the Verizon Private IP tile, click on the Order now button.
4. Your order has four steps: Check availability, Configure & pricing, Checkout, and Review & submit.
In the Check availability step, select your Customer Contracting Legal Entity (CLE), your contract, contract service term, and input the address for which you want new Verizon Private IP service (image 1). If you only have one CLE, it will pre-populate.
When you enter your address, the system may find your address, or it may not. If it finds the address, click on it to select it (image 2).
5. If the address is not found, click on the Enter a new service address link below the address field (image 1).
6. In the New address pop-up (image 2), manually add your address. You must give your address a quote location name for this order.
If you want to order a Private IP location in Alaska, Hawaii, or outside the U.S, click on the link towards the bottom of this page. Orders for locations in Alaska, Hawaii, or outside the U.S. will not be automated or have pricing shown online—your account representative will contact you with a price quote.
7. Next, select your access speed and port speed. The system defaults to 10 Mbps for both, but you can select different speeds by choosing the speed from the drop-down menu. Recall that port speed is required to be less than or equal to the access speed. After you click Check availability, the system will take you to the Configure & pricing page.
8. In the Configure & pricing step, you can view your pricing, and you must review additional configuration requirements. Your contractual pricing is provided for the configuration you are ordering, as well as any other line items that change with this transaction. Pricing information for the whole order is shown in the Order summary section, at the top right of the page.
This page will include the Access and Private IP configuration sections. You may also have a section for WAN Analysis Reporting, depending on your contract. Pricing for each part of your order is shown at the top of each section, including any discounts and promotions on your contract, if present.
9. In the Access section on the Configure & Pricing page, make any changes to the configuration that are needed, and click the Apply changes button. Note that this may change pricing for Access. This button will become active (black) if you make any changes in this section. The access configuration displayed initially is the recommended configuration, which is typically the lowest in price. To see other configuration options, click on the Other access configuration choices link.
10. Under Other access configuration choices, you can choose different configurations by clicking on them. Here, configuration 1 is selected, as seen by the red highlighting at the top of the tile. Click on the configuration you want, and then click Apply. If you want to use a carrier other than Verizon and do not see other carriers listed on this page, go back to the Access section, and select Yes for Preferred carrier designation (carrier diversity) on the main page first. The detailed configuration choices available to you using the Other access configuration choices link will depend on the address for which you are ordering service.
11. To see configuration options made possible by other carriers (carrier diversity), select Yes under Preferred carrier designation. Click on the View the carriers link to see configurations offered by other carriers. Scroll through the pages using the page number icons/arrows, click on the configuration you want, and click Apply. Note that this may change pricing for Access.
12. In the Private IP (PIP) section on the Configure & Pricing page, you can edit configuration choices under the PIP port, Class of service, and Private IP – Layer 3 groups. Click the Apply changes button to save your changes. This button will become black (active) if you make any changes.
13. In the WAN Analysis Reporting section, a basic reporting package is included at no cost. You can also add reporting to provide information such as a traffic viewer tool, notification of alarms, or more detail about QoS technologies and bandwidth use. Click Apply changes if you make any changes to update the pricing, and then click Continue to Checkout.
14. Or, if you want to order for several locations, click Add another location to add a second location to the order.
You can have as many as ten locations on an order, which will appear as tabs at the top of this page. Once you’ve added all the locations that you want, configured them, and saved any changes to configurations, click Continue to checkout.
15. In the Checkout – Network details step, select the Virtual Private Network (VPN) you want to use for this location using the drop-down menu, and click Proceed to contact information.
16. In the Checkout – Contact information step, you will select the contact for six required contact types: primary contact, technical contact, on-site contact, alternate site contact, customer survey contact, and proactive notification contact. You will be defaulted as the primary contact since you are placing the order. Scroll down the page to see all the contact types and information on the page. Click on the circled help icons for more information.
For contact types, you can choose the contacts to be the same as previous contacts using the drop-down menu, or specify another person as a contact, using the Select contact link. You also have the option to email the order to up to six other contacts, if you like. When you have completed all six required contact fields, click on Proceed to delivery details.
17. In the Checkout – Delivery details step, you must fill in the date you want service delivered, where it should be delivered, and accept the site readiness statement. You can also provide comments on this page if you like. Click Proceed to billing details once you have completed these selections.
18. In the Checkout – Billing information step, you must select your billing account number (BAN). You can bill to an existing account, create a new BAN, or proceed without selecting a BAN. You must also complete the required Federal Universal Service Funds statement about whether you are purchasing the service for your own use or for resale. After making your selections, click Proceed to review & submit.
19. In the Review & submit step, scroll down the page to review all your information. Click on the pencil icon to edit a field. At the top of the page, there are icons to download, email, and print the completed order. When you submit the order, you will receive an email with a PDF of your order information, but you can also download the PDF from this page.
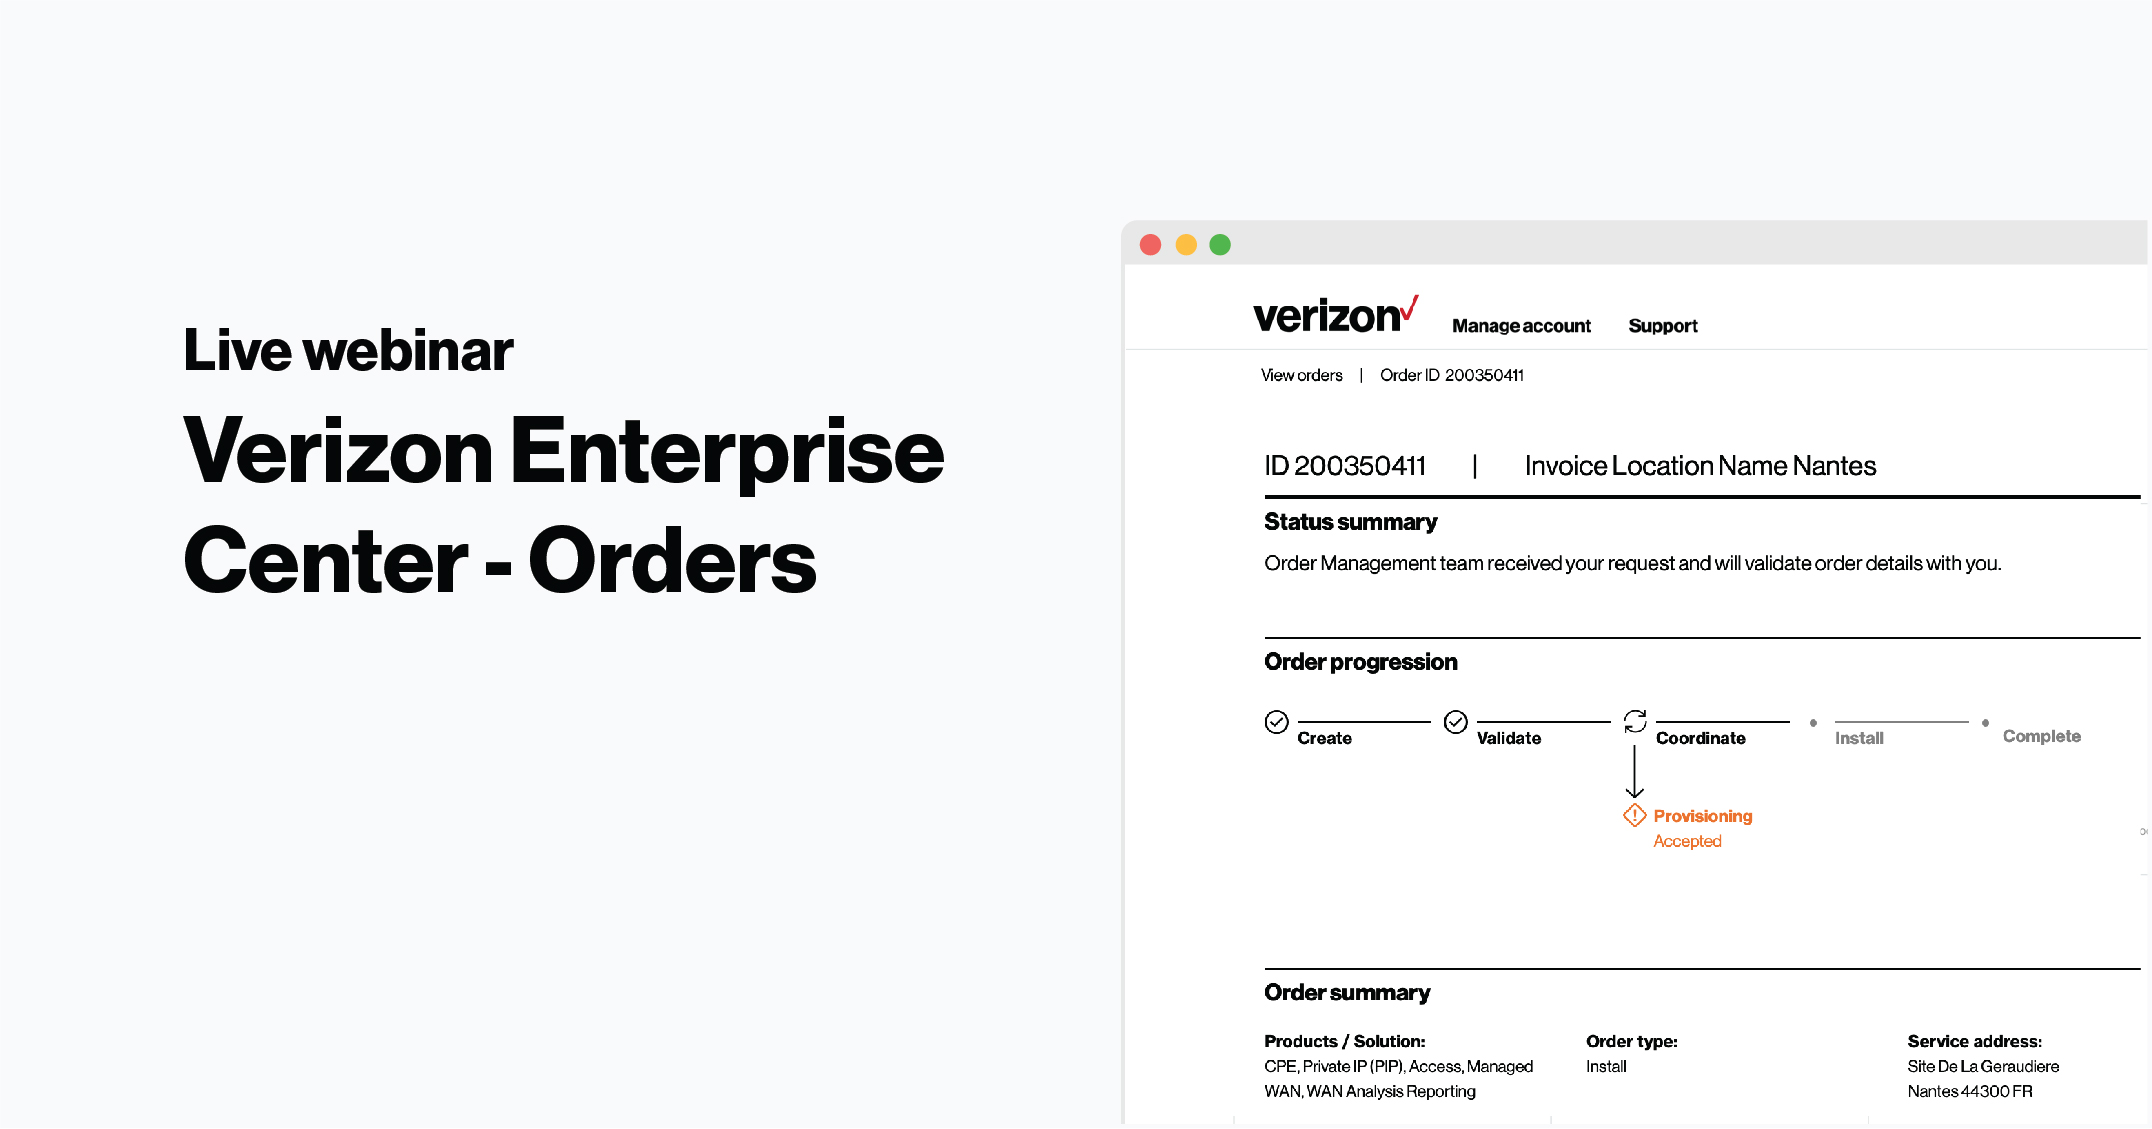
20. At the bottom of the Review & submit page, click on Submit order to place your order. You can also save the order and return to it later. To return to the order, hover over Orders and click on Saved requests under Status . You can track your order by hovering over Orders and click on Pending orders under Status.
21. After you click Submit, you will see a message that gives you your order number, and you will receive an email confirming your order that includes a pdf file of your order details. If your account team needs to take action on the order, you will receive an email that says your order is pending. When your order has reached order request stage and been accepted, you will receive an email saying it has been accepted.
Example subject line of emails:
Verizon Order Ref. 1144614 -received
Verizon Order Ref. 1144614 -pending
Verizon Order Ref. 1144614 -accepted


